Showing posts with label redwork. Show all posts

Friday, February 10, 2012

Dutch Girl Valentine

Here is the other valentine I traced to get a working embroidery pattern.
Click HERE if you want the PDF. :-)

Thursday, February 9, 2012

Gingham Valentine

This is what I made up with the embroidery pattern I posted.
I was thinking about making a wee bag to carry valentines to school in
but made a small wall hanging instead.
Perfect for a first Valentine's Day.

Friday, February 3, 2012

Vintage Pup

Here is a valentine treat for you.
I took a vintage valentine and enlarged it, then I traced the important lines to get a pattern suitable for embroidery.
I got the great idea from HERE.
I am embroidering the pup right now and am almost done.
I have a Dutch girl almost ready from another vintage valentine.
I'll try to post it by Monday.
Have a great weekend!!!  :-)

Monday, December 5, 2011

Christmas in Stitches

A little holiday stitching project for you!
You'll find the pdf HERE.
Please let me know if you have any troubles accessing the pdf. 
I made a wee pillow when I finished stitching.
I had the hardest time finding a fabric in my stash that made the embroidery POP! 
The back of the pillow is dotted (yeh!) from the same fabric line.

Have Fun!!!  :-)

Tuesday, October 18, 2011

Polly's Pumpkin

I drew this with great plans to stitch it up and make a mug rug but I haven't gotten to it.
I spent time today re-working some curtains in the bathroom.
I cut the full length panels into a cafe length and a strip gathered up at the top of the window.
This way we get our privacy but still get some natural light.
If one of you manages to stitch Polly and her Pumpkin up--I'd love to see it! :-)

Tuesday, June 28, 2011

Tutorial for My Project Bags--Part Two

Now, to put this bag together! 
After completing all the steps in part one we can move on to what I'm doing here in this picture.
I have placed the lining inside the outside piece and lined up the side seams.
I have folded back and pressed a hem of about 1/2"- 3/4"
on the outside piece and the lining so that the hems face each other.
You'll notice that the lining is a little longer than the outside piece
 (it was cut a little longer for this purpose).
I have done this because I like the lining peeking out along the edge.
If you don't like this you can just fold the lining hem down a little more so the edges line up. 
This shows a very close stitch line, topstitching the two top hems together. 
I did two lines of topstitching along the top.
You can see that the lining is peeking out over the edge of the outer piece. 
Now on to the drawstring casing,
At the ends of the casing I pressed back 1/2"
and then press the two long sides to meet in the middle of the wrong side. 
Then I pressed back the casing ends another 1/2" and stitched it flat.
This provides a good, strong opening for the drawstring. 
I pinned the drawstring casing to the project bag with the ends meeting very closely at one side seam.
Here is the drawstring casing at the side seam after I topstitched it down.
I went back and forth over the open ends of the casing to tack it down well. 
The drawstring is made by folding the drawstring fabric in half,right sides together,
stitching down the length, turning and pressing.
Then the drawstring is threaded through the casing with a safety pin
(to aid the threading process) and.......
Voila!!
You have yourself a project bag. :-)
Please let me know if any of my instructions are confusing.
Also, I would love to see your finished project bags.

Monday, June 27, 2011

Tutorial for My Project Bags--Part One

Here it is!!!
A new project bag with instructions on how I put it together. :-)
OK, so the very first thing to do is pick out two or three fabrics which you like together.
Cut out one piece for the outside of bag (32 1/2" x 16 1/2").
Another piece for the lining cut (32 3/4" x 16 1/2") (just a 1/4" longer than the outside piece).
Cut a piece 2 1/4" x 33 1/2" for a drawstring casing 
and a piece 2 1/4" x 44" for the drawstring.
This will give you the pieces needed for a bag with the finished size of 16" x 16".
I have made bags in other sizes, so you would have to adjust the measurements for that.
Next, plan and make an embroidered project or use another decoration for the front of the bag.
I quilted my embroidery by hand first,

and then I free-motion embroidered the redwork to the front of the bag.
I placed it a little lower than the center to take into account the later drawstring casing placement.
Here I am stitching the outside piece along both sides, leaving the top open.
I placed it right sides together and used a 1/4" seam (included in measurements).
Turn and press the outside piece.
Stitch the two sides of the lining piece with right sides together,
1/4" seams, leaving the top open, but don't turn it.
Next time....putting it all together.

Wednesday, June 8, 2011

Mousie

A mouse for you to embroider.
Please use only for personal use. Thanks!

Sunday, June 5, 2011

Dots and a Doll

I can't stop making these project bags.
This time using my embroidery pattern for a friendship doll that you can find on my side bar.
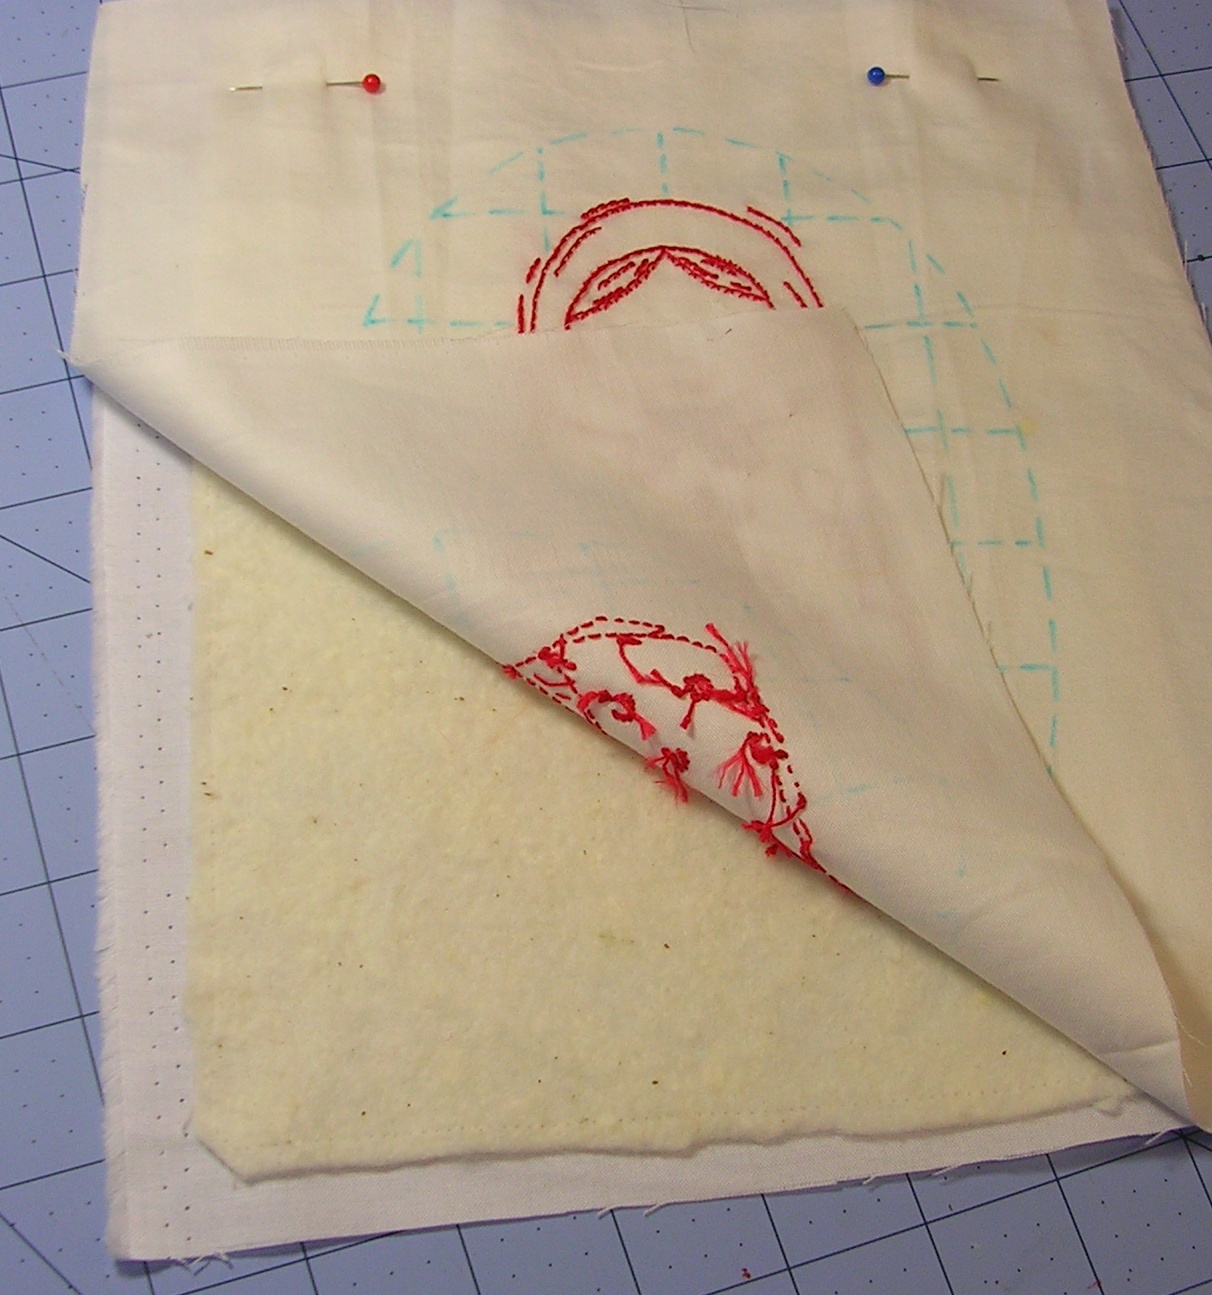
After I did the initial redwork, I traced an oval with a disappearing pen and also diagonal lines going both right to left and left to right. (not inside the dolls image)
Then I quilted the lines with off-white thread.
I washed the embroidery to get the quilting to wrinkle up. 
Then to attach the quilted piece to the bag front I used red thread.
I put on the free-motion embroidery foot and went to town.
I circled the piece with two concentric ovals, each oval stitched three times.
I used a disappearing pen again to draw on the scalloping.
I then free-motioned my way around the scallops twice.
After all this stitching I just cut the excess white fabric near the scallops,
 leaving kind of a rough edge which will soften over time. 
The inside fabric is a polka-dot of course. :-)
I think that all the fabric is Moda.

Wednesday, April 27, 2011

Redwork Project Bag

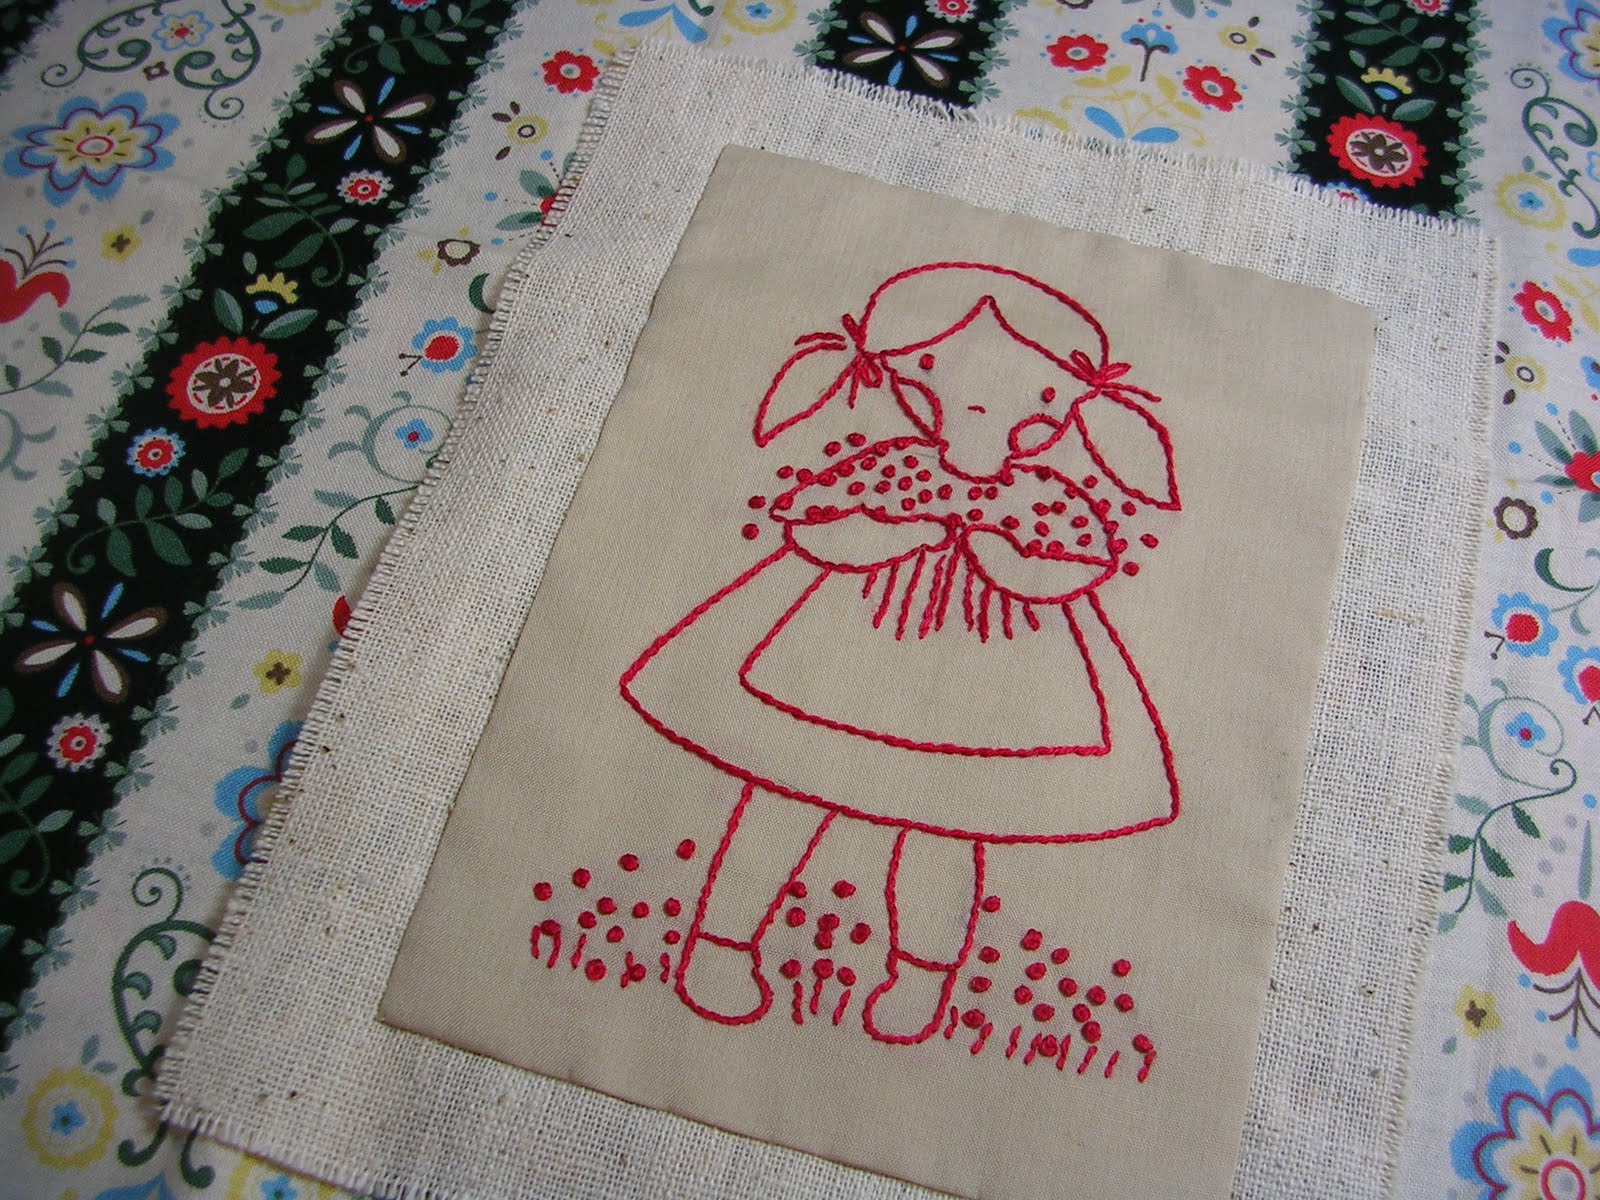
Another project bag. This time with a redworked girl with flowers. I found the pattern online, but I don't know where. Someone had uploaded an old neddlework book that had this image, a little boy as well as some other things. If you recognize this, please let me know. 
I started this back in January and got very sidetracked by the furniture painting which turned everything upside down and backwards. I didn't spot my sewing machine until just a week or so ago.