

Here it is!!!
A new project bag with instructions on how I put it together. :-)

OK, so the very first thing to do is pick out two or three fabrics which you like together.
Cut out one piece for the outside of bag (32 1/2" x 16 1/2").
Another piece for the lining cut (32 3/4" x 16 1/2") (just a 1/4" longer than the outside piece).
Cut a piece 2 1/4" x 33 1/2" for a drawstring casing
and a piece 2 1/4" x 44" for the drawstring.
This will give you the pieces needed for a bag with the finished size of 16" x 16".
I have made bags in other sizes, so you would have to adjust the measurements for that.

Next, plan and make an embroidered project or use another decoration for the front of the bag.
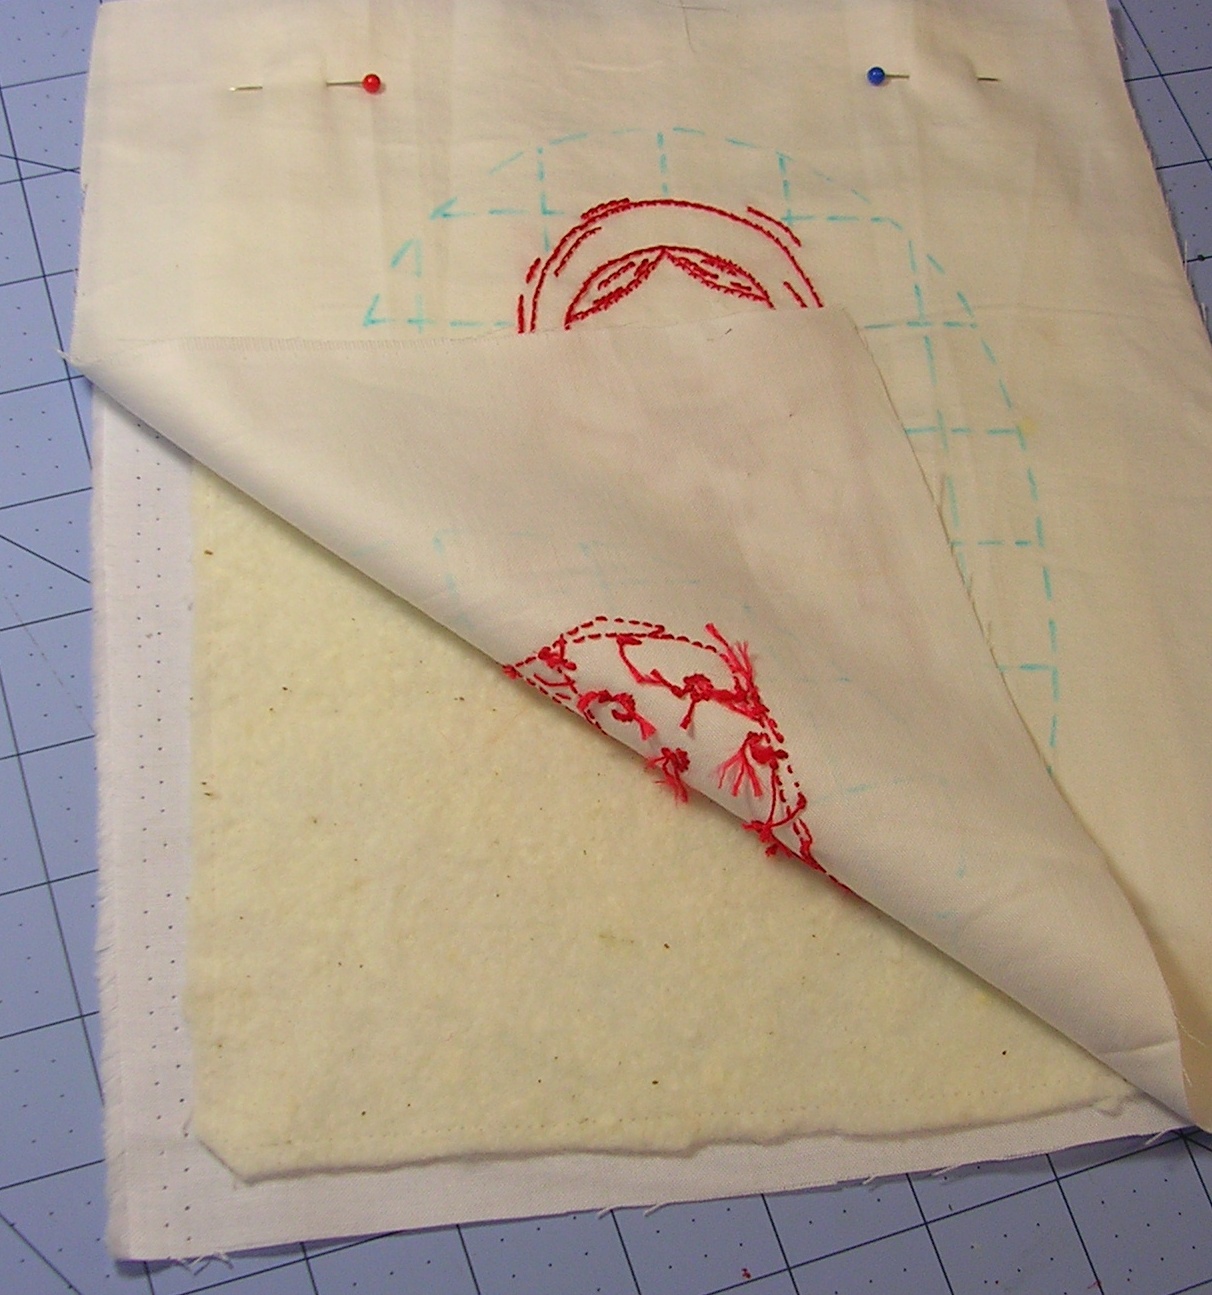
I quilted my embroidery by hand first,


and then I free-motion embroidered the redwork to the front of the bag.
I placed it a little lower than the center to take into account the later drawstring casing placement.

Here I am stitching the outside piece along both sides, leaving the top open.
I placed it right sides together and used a 1/4" seam (included in measurements).

Turn and press the outside piece.
Stitch the two sides of the lining piece with right sides together,
1/4" seams, leaving the top open, but don't turn it.
Next time....putting it all together.
1 comment:
I have just stumbled upon your blog and wanted to say hello and thanks for sharing your wonderful work. So much inspiration to be found. Thanks and greetings from Germany!
Post a Comment